Shoe Surgeon Academy Decon/Recon - Air Jordan 1 Summary:
The surgeon academy deconstruction/reconstruction 30-day online class explores the process of deconstructing and reconstructing a sneaker experimenting with different designs and styles to recreate my own personal Air Jordan 1.
The process of deconstructing a shoe involved carefully removing the different components of the shoe, such as the sole, upper, and lining, using various tools, including scissors, knives, pliers, etc.
To reconstruct a shoe, I used various materials, including fabric, leather, and rubber, experimenting with different colors, textures, and patterns to create a replica Air Jordan 1.
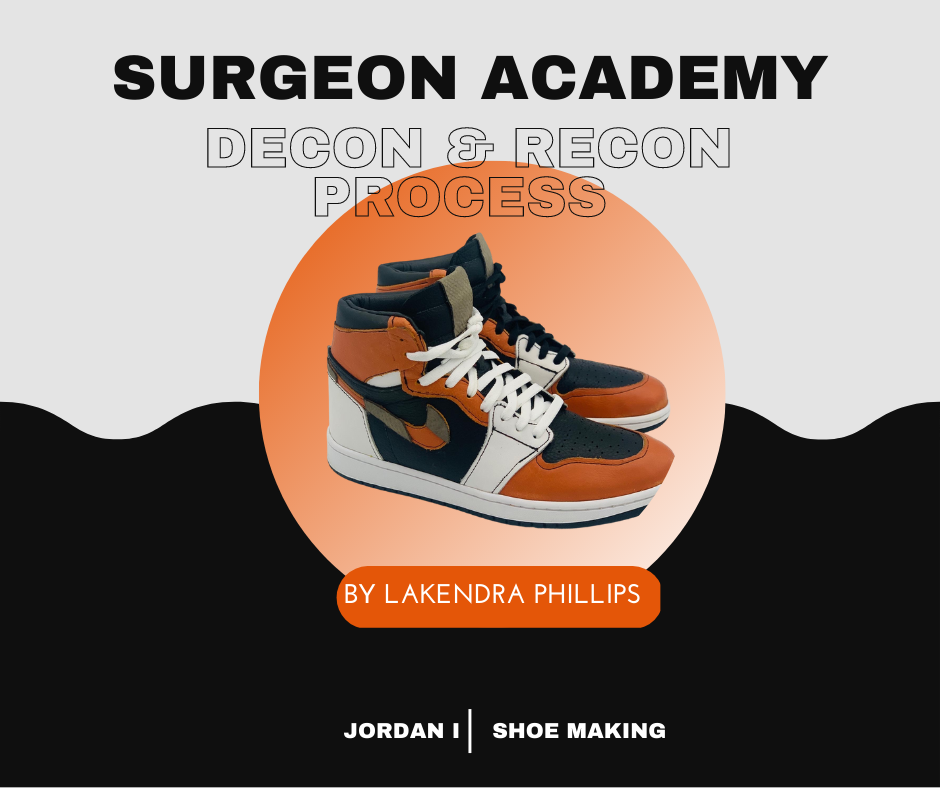
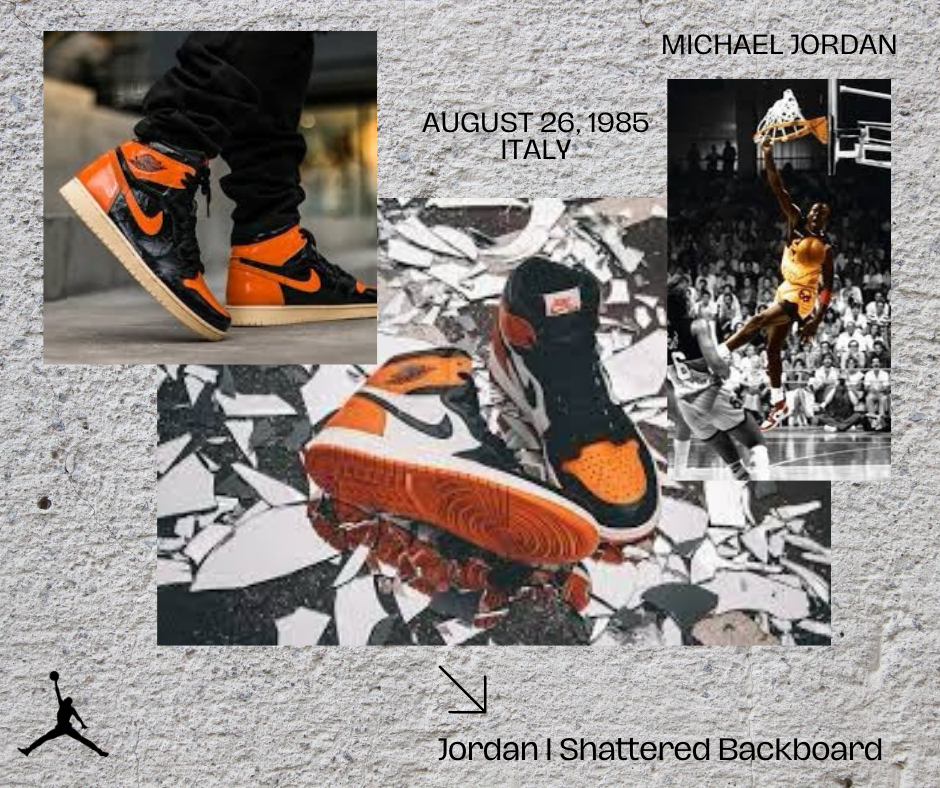
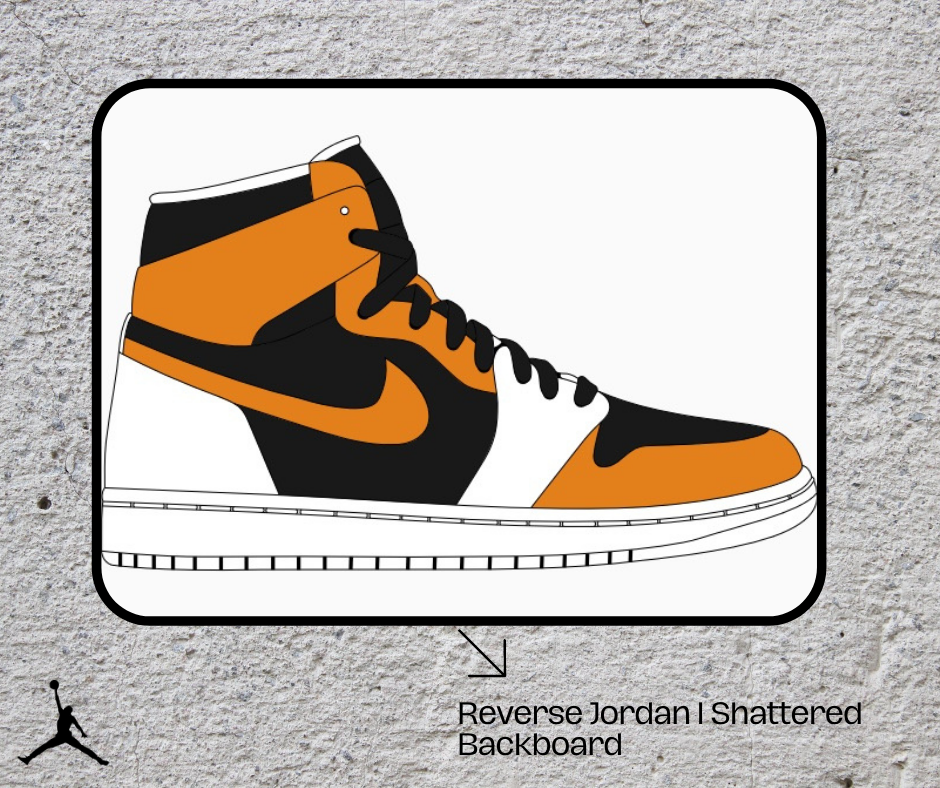
On day 1, I spent time designing my colorway and selecting the upper material for my Air Jordan 1's. One of my favorite pairs of AJ 1's is the Shattered Backboard, and I choose to reverse and flip the colors from the original shoe.
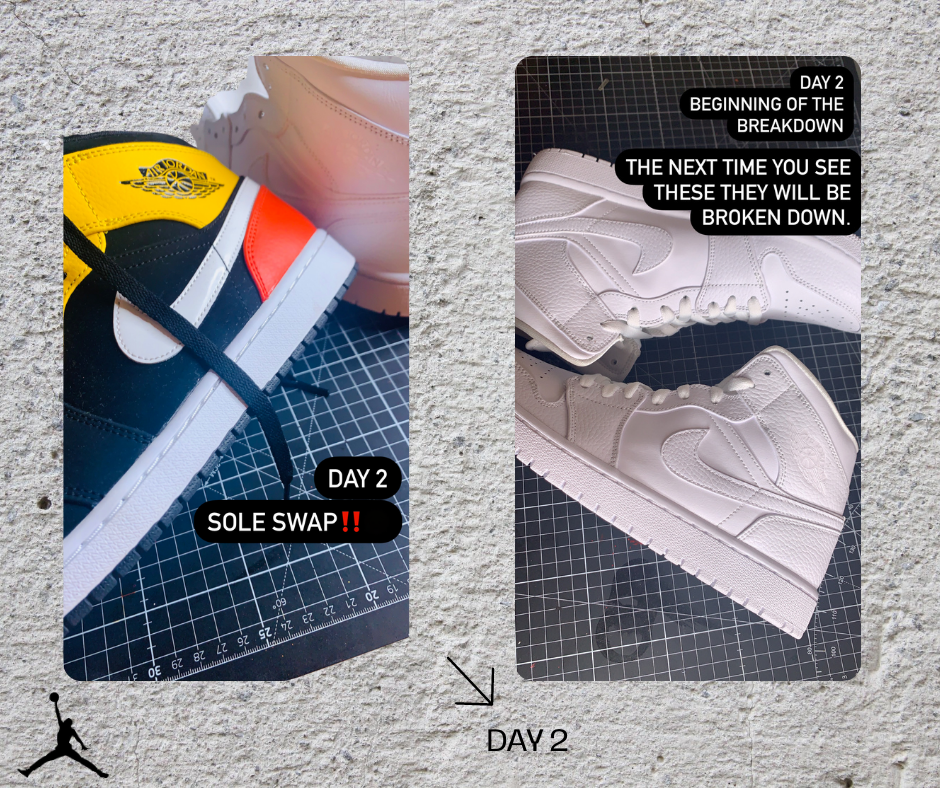
Day 2-3, I spent time deconstructing an old pair of AJ 1 sneakers to use as the sole for my newly constructed sneaker by detaching the upper from the shoe's sole. This allowed me to also learn the anatomy of the AJ 1 sneaker.
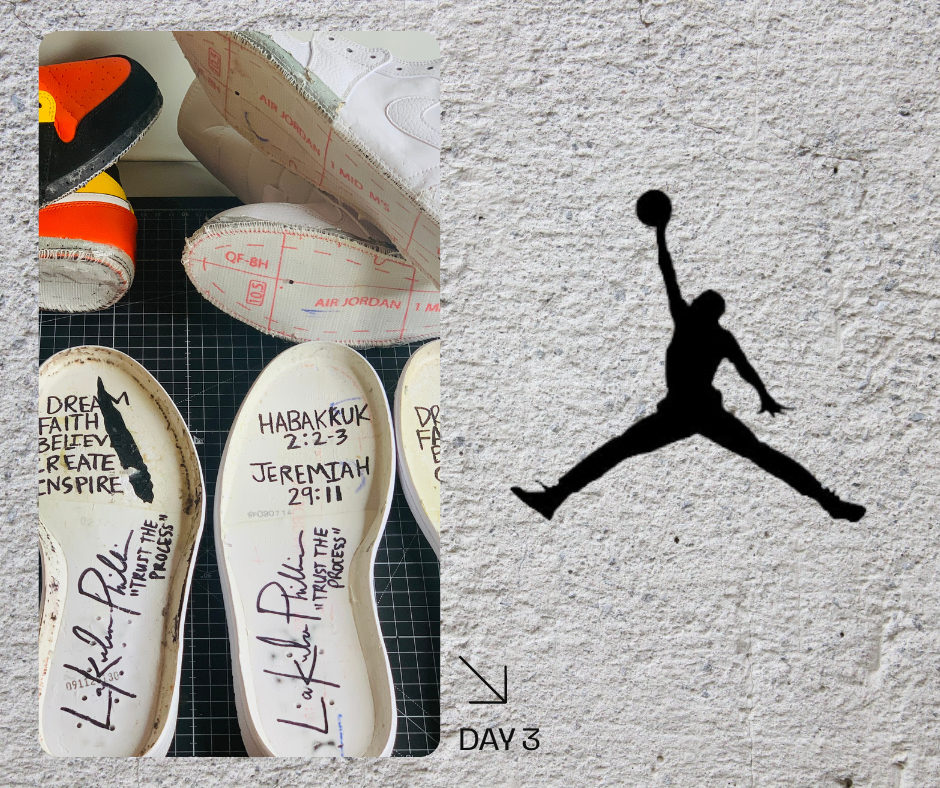
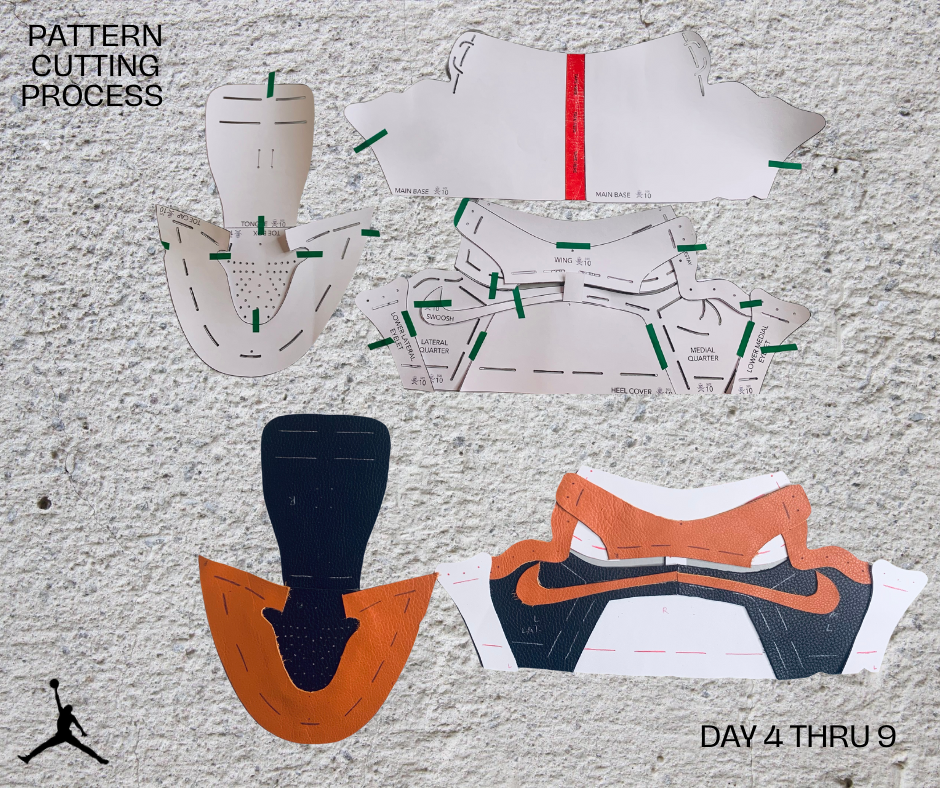
Day 4-9, I spent time creating the components of my shoes out of leather, microfiber, and foam. I used the AJ 1 pattern pieces to trace, cut, and skive new pattern pieces to prepare all the components needed to construct the upper for my new shoe. I used 46 pattern pieces for one pair of sneakers.
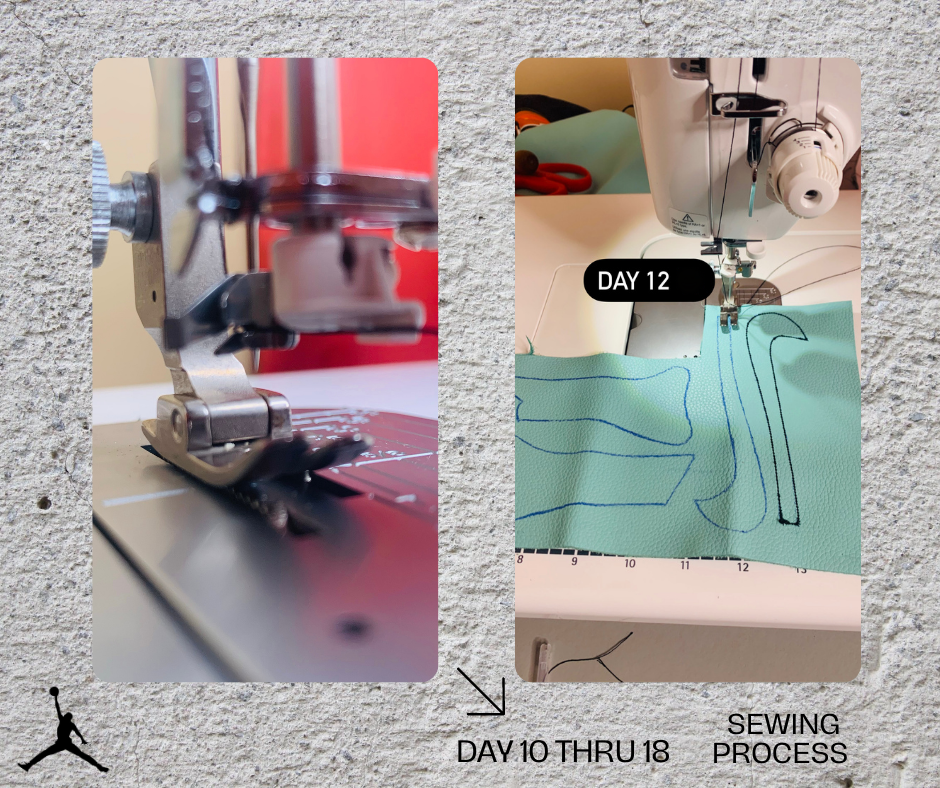
Day 10-18, before I started bonding and sewing my pattern pieces together to construct a two-dimensional pattern of my Uppers, one piece at a time. I spent time getting familiar with my sewing machine. I practiced sewing on scrap leather pieces, stitching straight lines, backstitching, and turning and pivoting to get comfortable with the sewing machine. This was fun and interesting because I had never used a sewing machine before, so I watched several YouTube videos to get the sewing machine going. I spent time bonding and sewing the upper pattern pieces by cementing and sewing the liners and foam to the upper. The challenging part for me was when it was time to backstitch to seal the thread in place, I broke multiple needles in the process because of the thickness of the leather material and the type of sewing machine I had made it difficult, but I figured out a way to make it work.
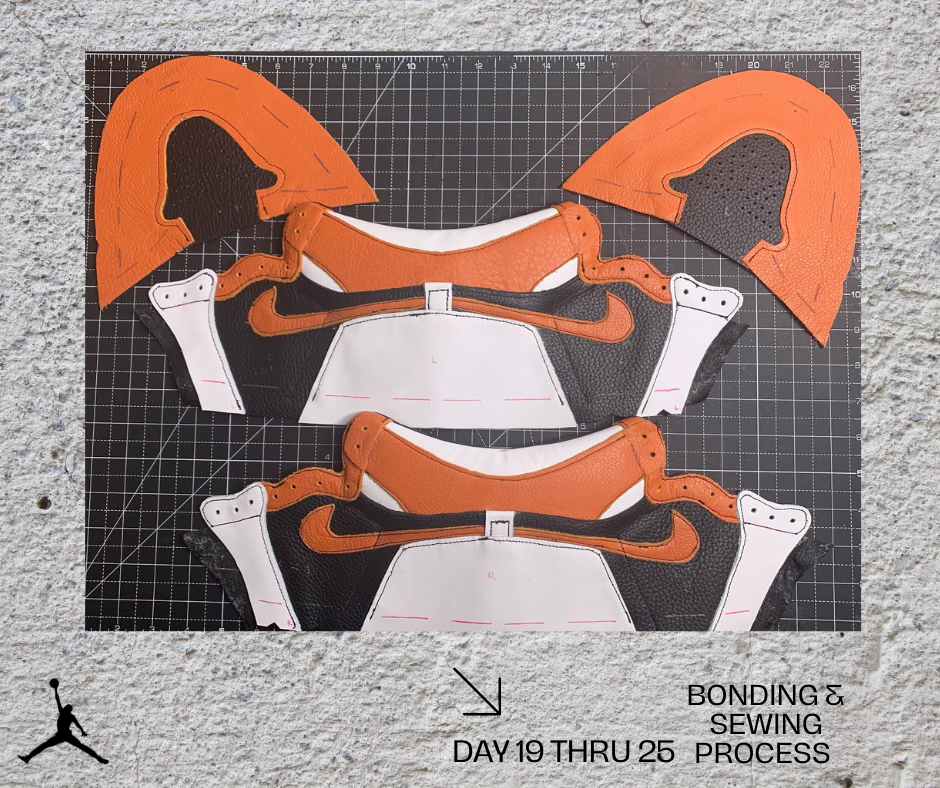
Day 19-25, it was time to transform my shoes from flat two-dimensional patterns to closed, three-dimensional Uppers. Flipping the liner and punching the Eyelet and Toe Box perforations, attaching the tongue to close the shoe and lasting and attaching the sole to finish my new pair of sneakers.
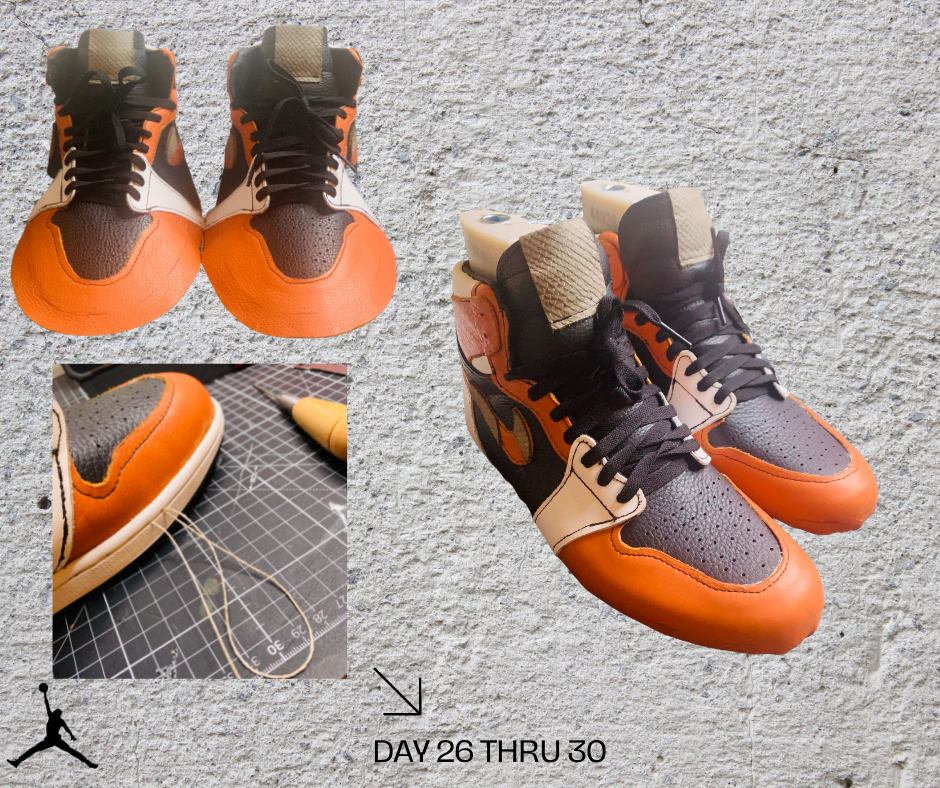
Day 26-30, I prepared the upper for the lasting process, attaching the sole using cement bond glue and hand stitching the instep to finish the shoe. The most challenging part of this process for me was the lasting process of bonding the lasting allowance to the lasting board by pulling and stretching the material on the surface of the shoe using lasting nails.
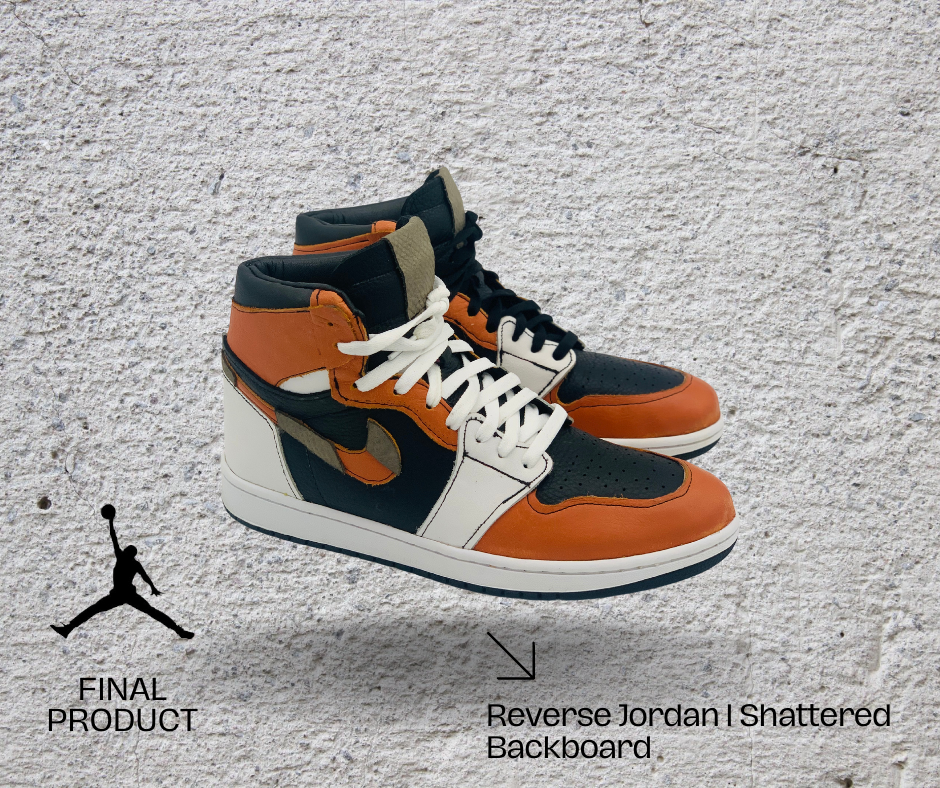
I felt so relieved the very proud of the product I created. This process taught me to trust the process and never give up despite many obstacles that may appear. Even if you must walk away from the project, regroup, and try again.